
How to Pressure Can Green Beans Easy Raw Pack Method
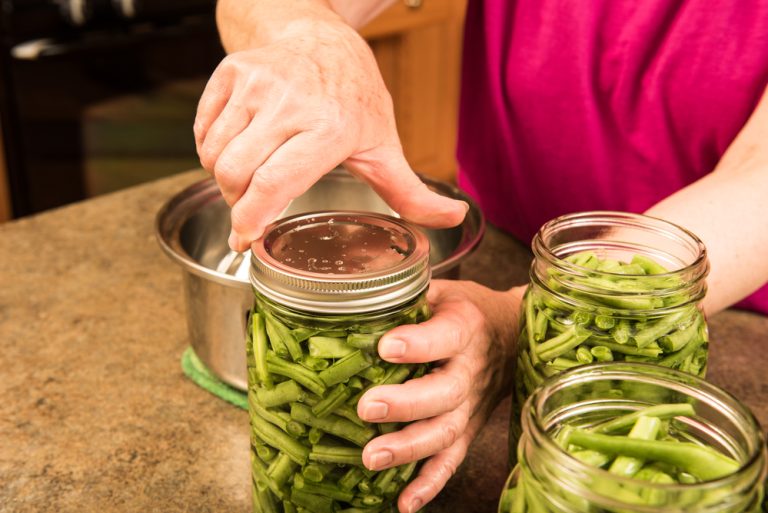
Step 3: Add Salt. Your canning jars should be cleaned and sterilized. This is also a crucial part of safe canning practices. Between clean, sterilized jars and new, clean lids, you're on the right path to good, clean canning that will last. Once you're sure your jars are ready, add salt to the bottom of them.
How To Can Green Beans Without A Pressure Canner Miss Vickie
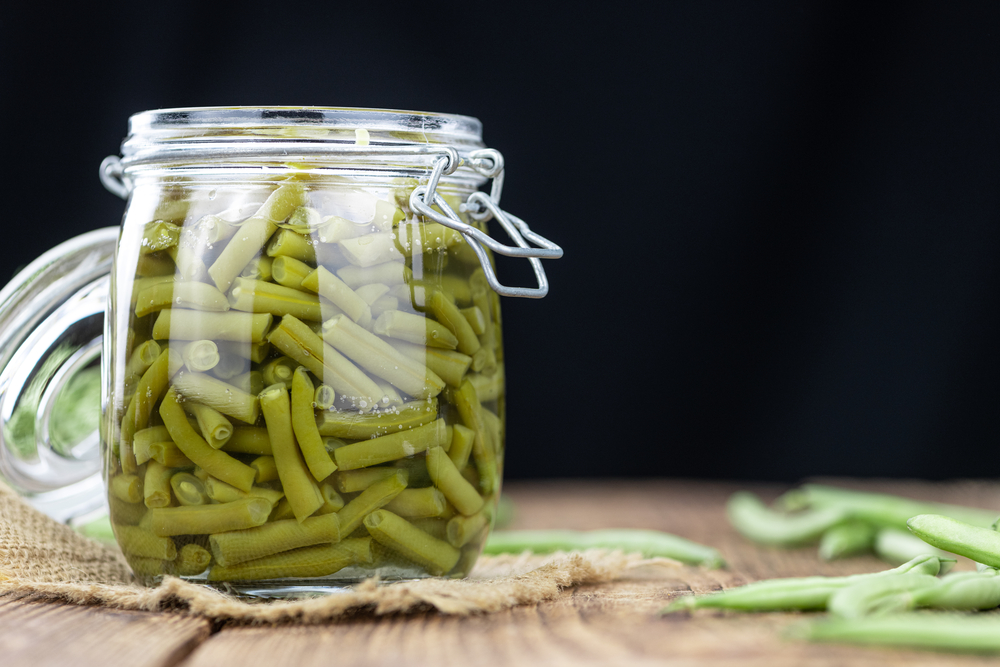
Cut the beans into 1-inch pieces, or leave them whole if you prefer. Then, pack the clean, trimmed beans into the sterilized canning jars, leaving about an inch of headspace at the top. After packing the jars with green beans, add 1 teaspoon of salt to each quart jar, if desired. Then, fill the jars with boiling water, leaving the same inch of.

Still Finding Cash Canning No Pressure Green Beans
Explore the art of canning green beans minus the pressure cooker in our comprehensive guide. Delve into its history, benefits, and relevance, grasp the basics, and follow our detailed, step-by-step tutorial. Uncover common misconceptions, handy tips, and compare this method to others. Begin your canning journey today!
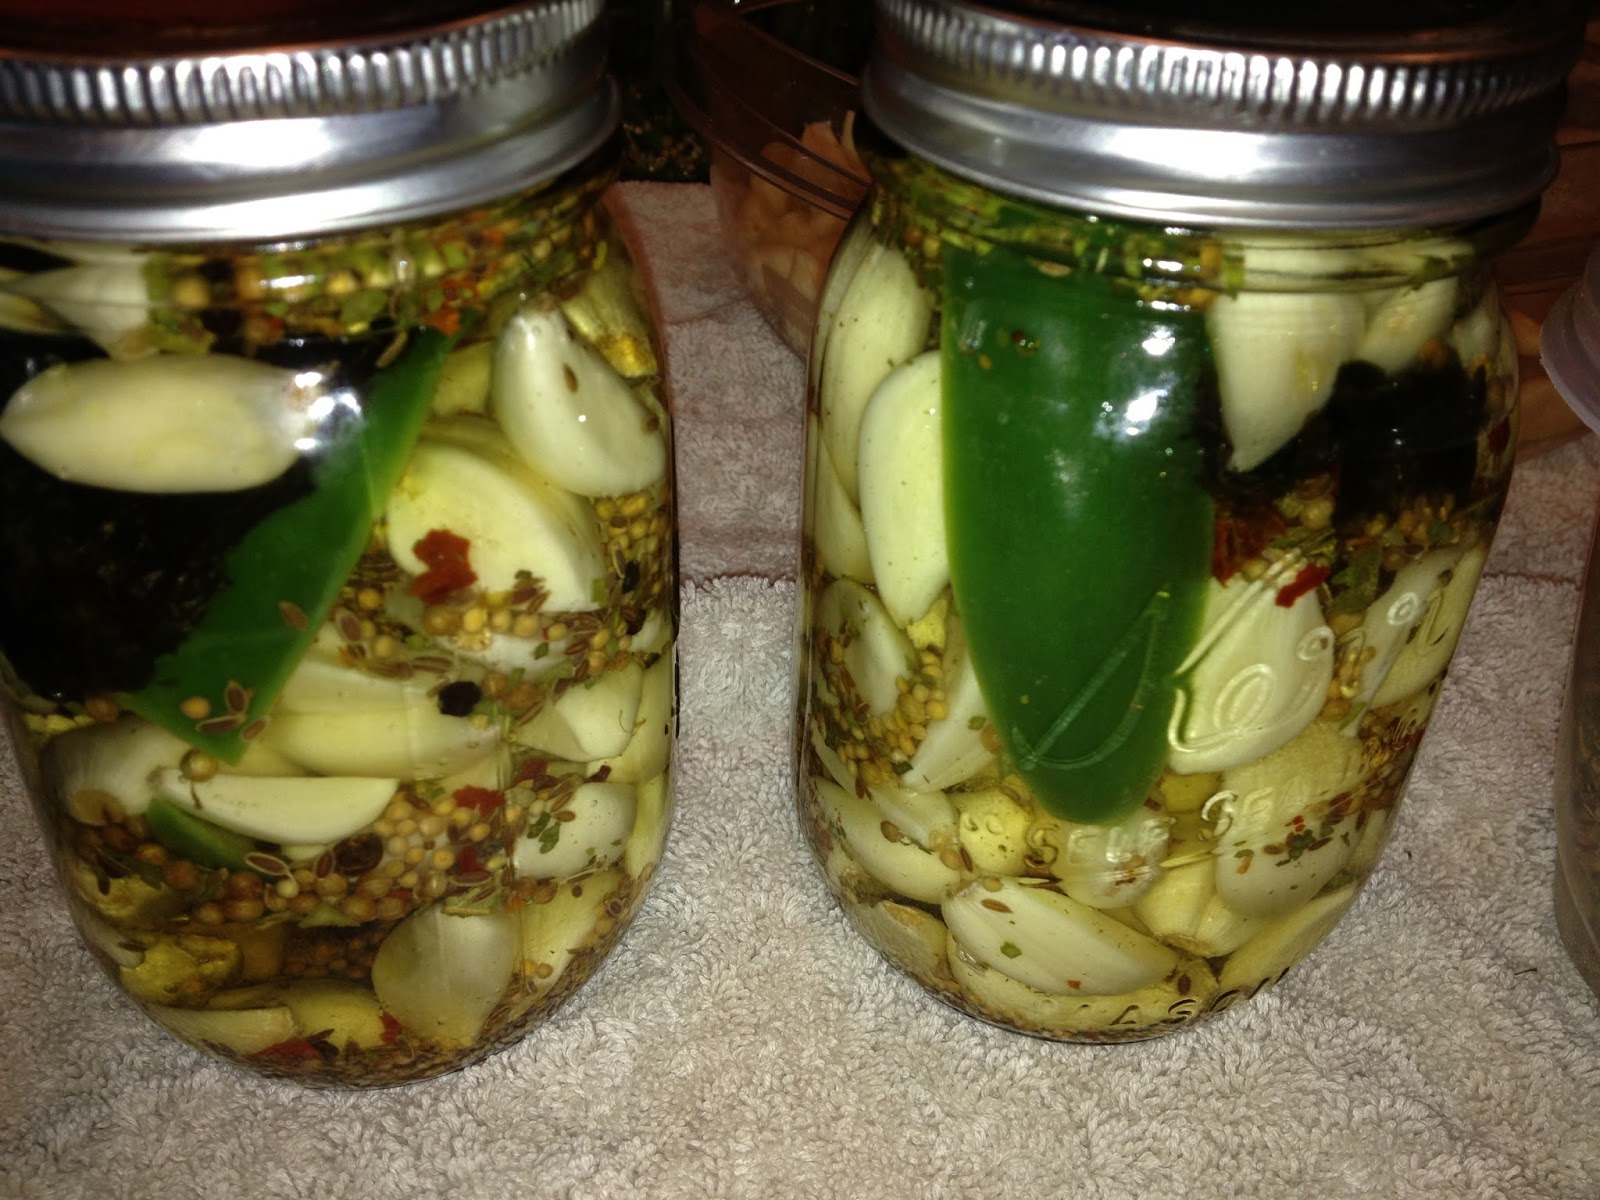
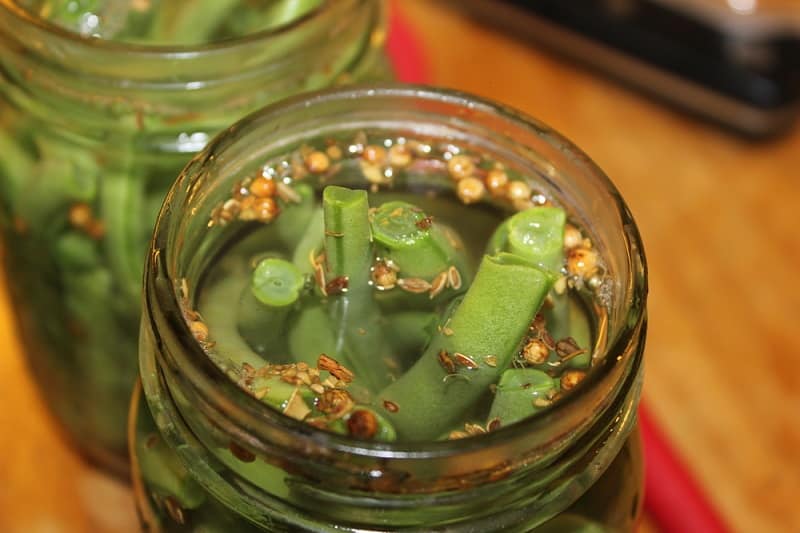
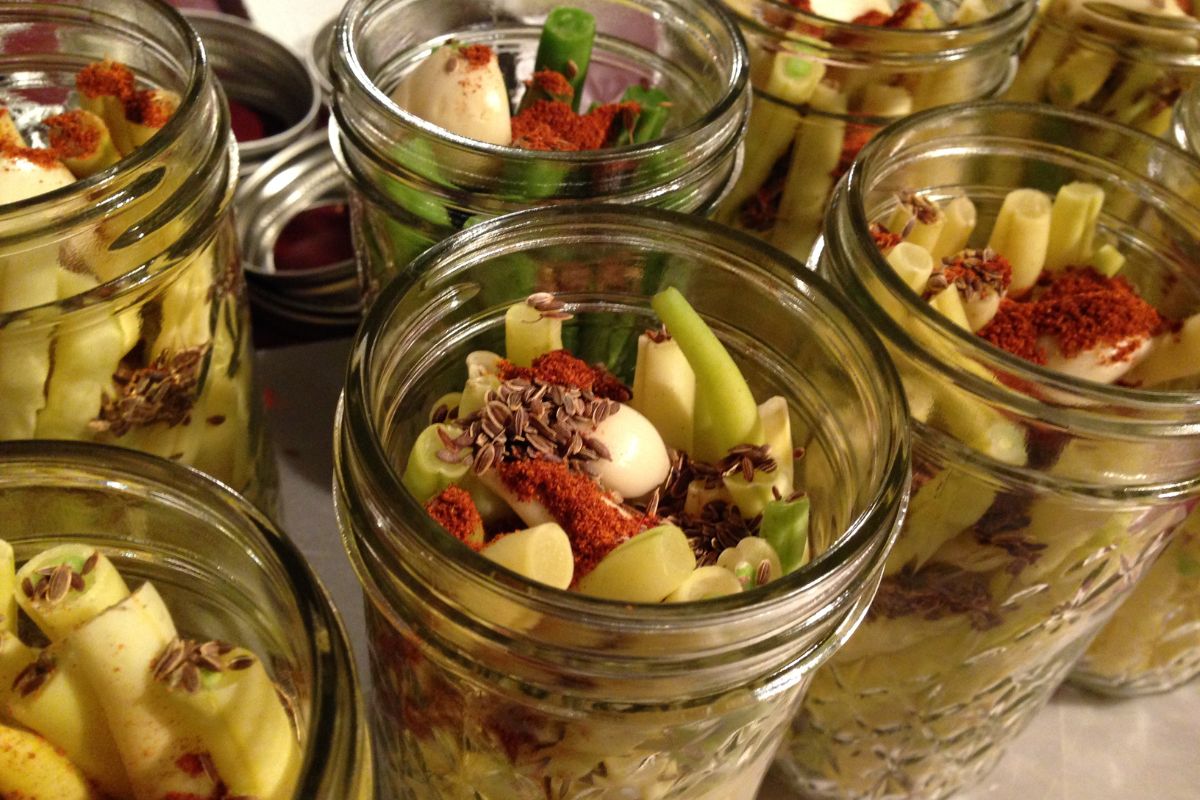
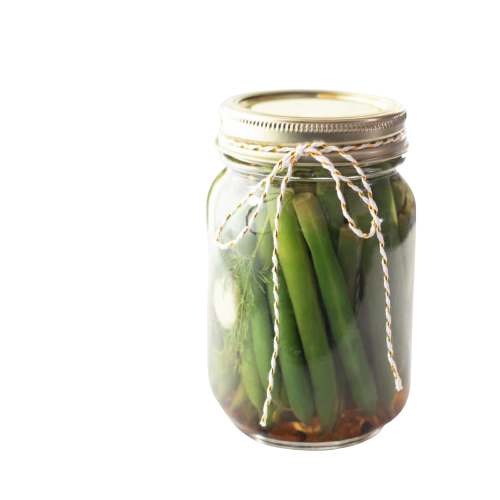
My Mama Always Said.... Spicy Pickled Green Beans A Canning Tutorial
To can green beans without a pressure cooker, you will need a water bath canner. Start by washing and trimming the green beans, then blanch them in boiling water for a few minutes. Pack the beans into sterilized jars, leaving about 1 inch of headspace. Prepare a brine solution by boiling water and adding salt. Pour the hot brine over the beans.

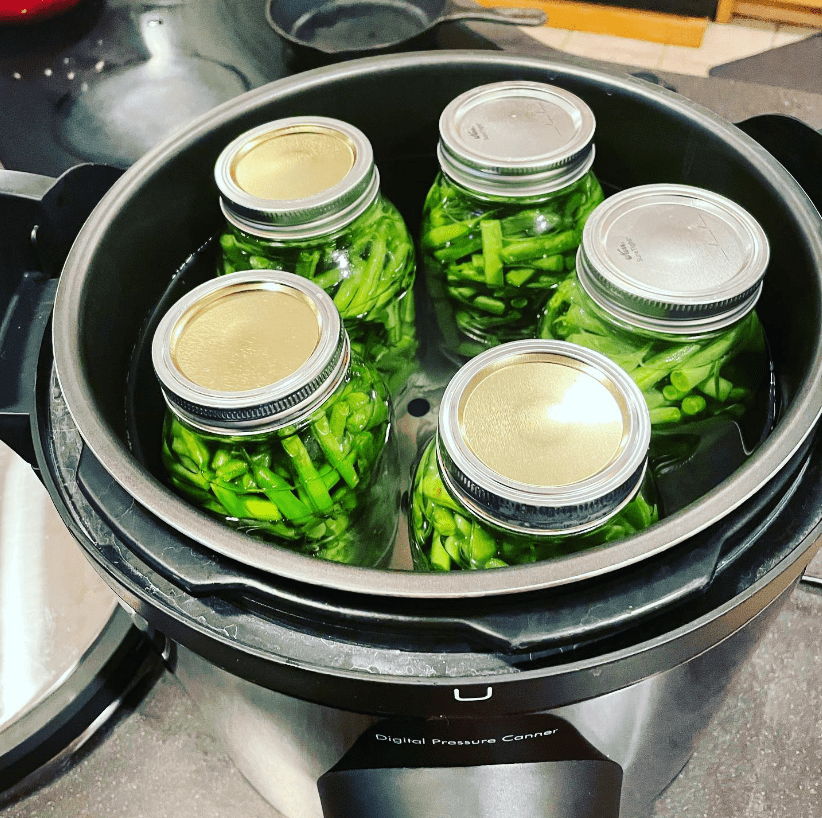
How to Can Green Beans in a Pressure Canner The Flip Flop Barnyard
Place pressure canning lid on and lock it into place. Let it boil until steam comes out of the top. This should take 5 - 10 minutes. While waiting, begin prepping the next batch of green beans. Once steam begins to come out of side spout, place canning weight over the little steam spout.
Recipe for Canning Green Beans Without A Pressure Cooker Yelo HTX
Let steam for 10 minutes. Fit with jiggler/rocker, at 10lbs pressure for sea level, and 15lbs pressure for over 1,000 feet above sea level. Process for 30 minutes (pints) to 45 mintues (quarts) once jiggler/rocker starts wobbling. Remove from heat and let cool until canner released pressure on its own.

Canning Green Beans Without a Pressure Cooker Pressure Canning Green
Step 3: Pack the jars. Pack the green beans tightly into the warm jars, leaving 1 inch of headspace at the top. Add 1/2 teaspoon of salt to each pint jar (optional). Pour boiling water over the green beans, leaving 1 inch of headspace. Remove any air bubbles by sliding a spatula or knife between the jar and the green beans.
Canning Green Beans Without a Pressure Cooker The Ultimate Guide
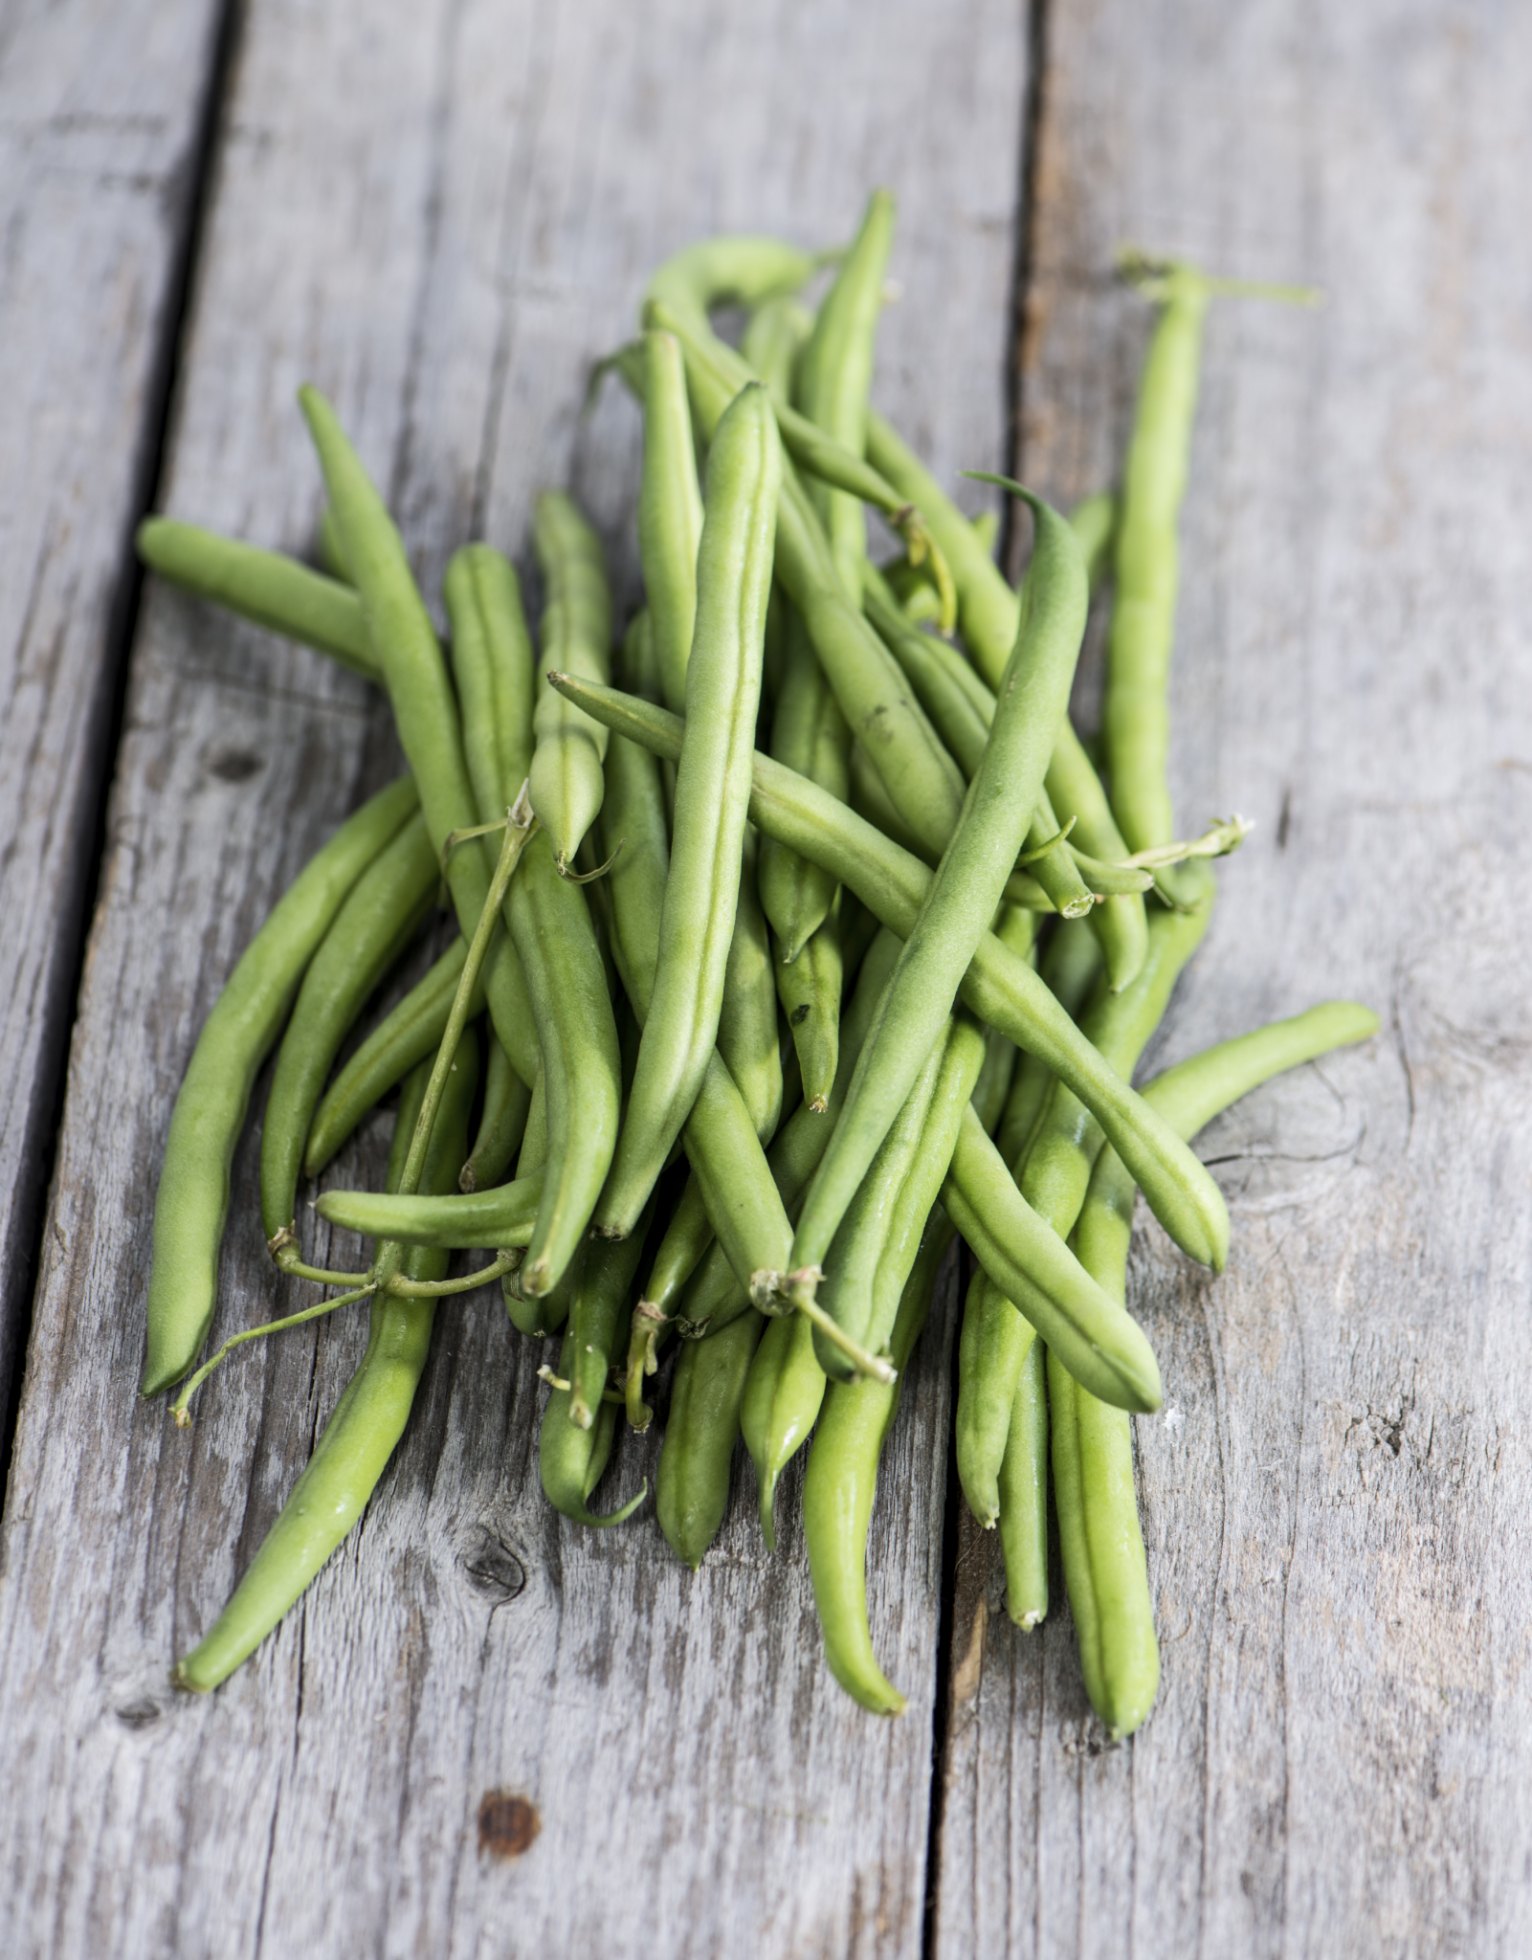
1. Wash the Green Beans. Wash the Green Beans. The first step to canning green beans, whether using a pressure canner or not, is to wash the green beans in cold water thoroughly. Soak them for a couple of minutes in the water first to loosen any dirt. Next, swish them around in the water, then rinse in another batch of clean cold water.

How to Preserve Beans WITHOUT a Pressure Canner Surviving Toddlerhood
2. Open Kettle Canning. The Open Kettle Canning method is another way to can green beans without a pressure cooker. In this technique, boil the green beans in an open saucepan before transferring them into hot jars. The heat from the boiled beans should be enough to create a vacuum seal once the lids are secured.
How To Can Green Beans Without A Pressure Canner Miss Vickie
Add 1/2 teaspoon of salt to pint jars or one teaspoon to quart jars for flavor. Cover the beans with boiling water, leaving a 1-inch space at the top. Seal the Jars. Wipe the rims of the jars to ensure they're clean. Place the lid on each jar and screw on the ring until it's "finger-tight.". Process in the Water Bath.
How to Can Green Beans Without a Pressure Cooker eHow
Start with 3½ to 4 pounds of fresh green beans. Wash the beans, drain, and trim the ends, then cut or break the beans into 1-inch pieces. Measure 12 cups of beans, and place them in a 4- to 6-quart kettle or pot. Add just enough water to cover the beans, and bring them to boiling. Cook, covered, for 5 minutes, then drain.
Canning Green Beans Without a Pressure Cooker
To safely can green beans without a pressure cooker, immerse them in a water bath for approximately 30 minutes. This method ensures that the beans are properly preserved and safe to eat. Besides, this time frame allows the jars to seal effectively and prevents spoilage.

The 1 Way to Can Green Beans
Canning is a very easy and straightforward way the preservation of the eating things. Table Of Contents hide. 1 Canning green beans without pressure cooker. 1.1 Step 1. Rinse beans with water. 1.2 Step 2. Cut the beans. 1.3 Step 3. Salt the jar where you put them.
Canning Green Beans Without a Pressure Cooker The Ultimate Guide
To can green beans without a pressure cooker, start by washing and snapping the beans, removing any stems and blemishes. Then, pack the beans into sterilized canning jars, leaving about an inch of headspace at the top. Next, prepare your canner by filling it with enough water to cover the jars by at least two inches.
Canning Green Beans Without a Pressure Cooker (Guide)
Step 3: Add Salt To The Jars. Wash the jars diligently and add some salt to the bottom of them, before you add your beans. You don't have to add too much salt, as only half of a teaspoon is enough for a pint jar. The best salt you want to use is sea salt and stay away from iodized salt for this step. In canned beans, salt has the purpose to.
CANNING GREEN BEANS WITHOUT PRESSURE COOKER
Using a canning funnel, pack the beans into the jars, leaving about an inch of headspace at the top. Add a teaspoon of salt to each quart jar, if desired. Then, carefully ladle hot water over the beans, again leaving about an inch of headspace. Wipe the rims of the jars with a clean, damp towel to remove any residue.
